
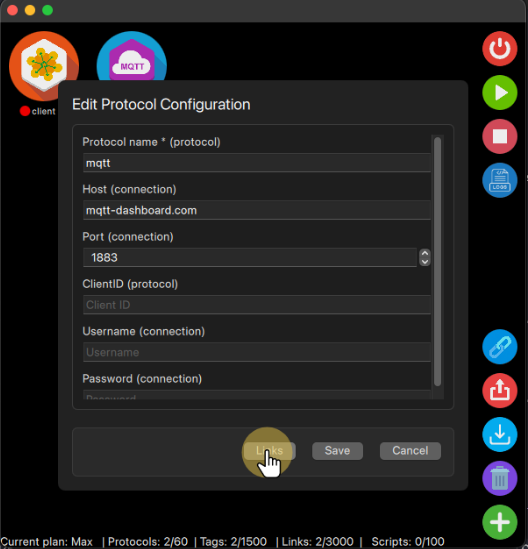
You can create a link once you have at least two protocols and a tag each, this way you can send the data from one protocol tag to another through the link. First you need to open the Protocol Links form, either through the Edit Protocol Form clicking the protocol or the Links button on the bottom-right corner.
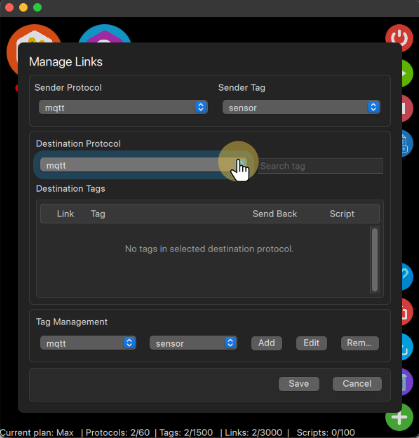
Then it is necessary to select the sender protocol and tag on the Sender Protocol section, and on the Destination Protocol section it is necessary to select the protocol that will receive the data, then a list with all the tags of the destination protocol will be shown on the Destination Tags section.
Within the Destination Tags section it is possible to check the Link checkbox, this will cause the sender selected tag on the Sender Protocol section to send its value to this tag whenever it is updated, there is also a Send Back checkbox, when checked the Destination tag will send back its value whenever it changes to the selected sender. the Event is only triggered when changes are happening so, when the value is updated because of a link the Tag will not send this value back the sender tag, to avoid an infinite loop of value updates.
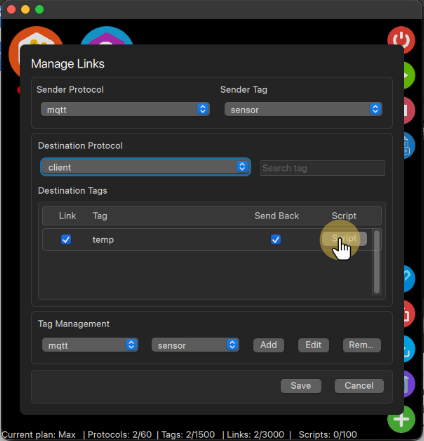
Now you just need to save the new protocol configuration, clicking the Save button, and the data will be sent to the links. If you click the Cancel button instead, the link will be lost and all the steps will need to be re-done.


